
Set Up an iPad for the Kiosk
A complete, step-by-step guide for turning a new iPad into a FabWise kiosk that runs all day on the shop floor.
Why it matters
The kiosk is the place workers start and end every shift. If the iPad is set up casually — screen times out, lock screen in the way, notifications interrupting — workers waste time tapping past obstacles every shift change. An iPad set up the way this guide describes turns into a single-purpose appliance: one tap to start a shift, one tap to end it, screen always on, no distractions.
Plan on 30 minutes per iPad the first time you do it. After that, 10 minutes.
If you're using an Android tablet instead, see Set Up an Android Tablet for the Kiosk.
What you need
- An iPad running iPadOS 16.4 or newer (the kiosk's screen-wake feature needs this version)
- The power adapter that came with it
- Wi-Fi network name and password
- A FabWise admin account, signed in on a computer or phone (you'll use it to pair the iPad)
- A wall mount or stand, if you're mounting it
- 30 minutes
Hardware notes
Any iPad running iPadOS 16.4 or newer works. What matters for a kiosk:
- 10-inch screen or larger. The standard iPad, iPad Air, and iPad Pro all work well. Avoid the iPad Mini for shop-floor use — the screen is too small.
- Wi-Fi. Cellular models are unnecessary for a tablet that stays in one place.
- A power port that can charge while in use. Every iPad does this.
You don't need the newest model. A refurbished iPad from a recent generation (9th or 10th gen) is a great value at $250–$350.
Step 1. First-time iPad setup
Take the iPad out of the box, plug it in, and turn it on.
- Choose your language and country.
- Quick Start vs. Set Up Manually. Tap Set Up Manually — Quick Start needs another iPhone or iPad nearby and is more friction than it saves for a shared device.
- Connect to Wi-Fi. Pick your shop's network and enter the password.
- Apple ID. You can sign in with a shared shop Apple ID (recommended) or tap Forgot Password or don't have an Apple ID? → Set Up Later in Settings to skip. A shared Apple ID makes app updates and iCloud Backup easier; skipping is fine if you don't want one tied to the device.
- Passcode. Set a simple passcode (six digits is the minimum). The kiosk has its own per-worker PIN — the iPad passcode is just for admin maintenance and to unlock Guided Access later.
- Decline optional setup. Skip Face ID/Touch ID enrollment, Siri, Screen Time, Apple Pay, and analytics sharing. The iPad will be a single-purpose appliance — those features add nothing.
- Don't restore from a backup. Set up as a new iPad.
You should land on the iPadOS home screen.
Step 2. iPad settings that matter for kiosk use
Open the Settings app and change each of the following.
Display & Brightness
- Auto-Lock: set to Never. This is the iPadOS equivalent of "keep the screen on." It's the most important setting in this guide.
- Brightness: turn off Auto-Brightness (Settings → Accessibility → Display & Text Size → Auto-Brightness), then set the brightness slider to about 70%. Shop lighting changes during the day; auto-brightness on a wall-mounted iPad just makes the screen flicker.
- True Tone: turn off. Same reason — you want consistent screen appearance.
- Lock Rotation: lock to landscape (or whatever your mount needs). Swipe down from the top-right corner to open Control Center → tap the lock-arrow icon to lock rotation. The kiosk should never flip when someone leans on it.
Sounds
- Ringtone and Alerts volume: set to zero or very low. The kiosk doesn't play sound.
- Change with Buttons: turn off. Prevents an accidental volume change from someone bumping the side of the iPad.
Focus
- Do Not Disturb: turn on permanently. Settings → Focus → Do Not Disturb → schedule for all day. This suppresses notification banners that would otherwise pull a worker's attention away from clocking in.
Notifications
- Notifications: open Settings → Notifications and silence everything. The kiosk doesn't send push notifications, so in practice this means turning off banners, sounds, and badges for every app on the iPad.
General
- AirPlay & Handoff: turn off Handoff. Prevents the iPad from auto-connecting to nearby iPhones.
- iPad Storage → Offload Unused Apps: turn off. You don't want the iPad silently removing Safari at 2am.
- Software Update → Automatic Updates: turn off "Download iOS Updates" and "Install iOS Updates." You don't want an unannounced restart during shift change. Update on your schedule, not Apple's.
App Store
- App Store → App Updates: turn off. Same reason — you control when apps change.
Step 3. Open the kiosk in Safari
The FabWise Kiosk is a web app. You open it in Safari and add it to the home screen so it looks and feels like a native app.
- Open Safari on the iPad.
- Go to
https://kiosk.fabwise.app. Type it into the address bar exactly. - You'll see the kiosk's setup screen (the iPad isn't paired to your shop yet — that's Step 5).
If you see a connection error, your iPad isn't reaching the internet — go back and check Wi-Fi.
Step 4. Add the kiosk to the home screen
Adding it to the home screen makes the kiosk launch full-screen with no Safari address bar — like a native app.
- In Safari, with
kiosk.fabwise.appopen, tap the Share button (the square with the arrow pointing up, in the top toolbar). - Scroll down and tap Add to Home Screen.
- The name will default to "FabWise Kiosk" — keep it.
- Tap Add in the top right.
- Go to the home screen and tap the new FabWise Kiosk icon. It opens full-screen, no address bar, no tabs.
This is the icon workers will tap if the kiosk app ever gets closed.
Step 5. Pair the iPad with your FabWise account
Pairing connects this physical iPad to your shop's account so it knows which workers can clock in here.
On your computer or phone, in a browser signed in as a FabWise admin:
- Go to Admin → Settings → Devices.
- Make sure Enable kiosk access is on.
- In the Kiosk devices card, click Add Kiosk Device.
- Type a device name — "Welding Bay Kiosk," "Front Door iPad" — this is how it shows up in the admin device list. Click Generate Setup QR. A single-use QR code appears; it's valid for 24 hours, and each device needs its own code (maximum 5).
On the kiosk iPad:
- Open the camera and scan the QR code. (Or copy the link under the QR code on your admin screen and open it in the iPad's browser.)
The iPad opens a confirm screen: Set up this kiosk, with the device name you typed.
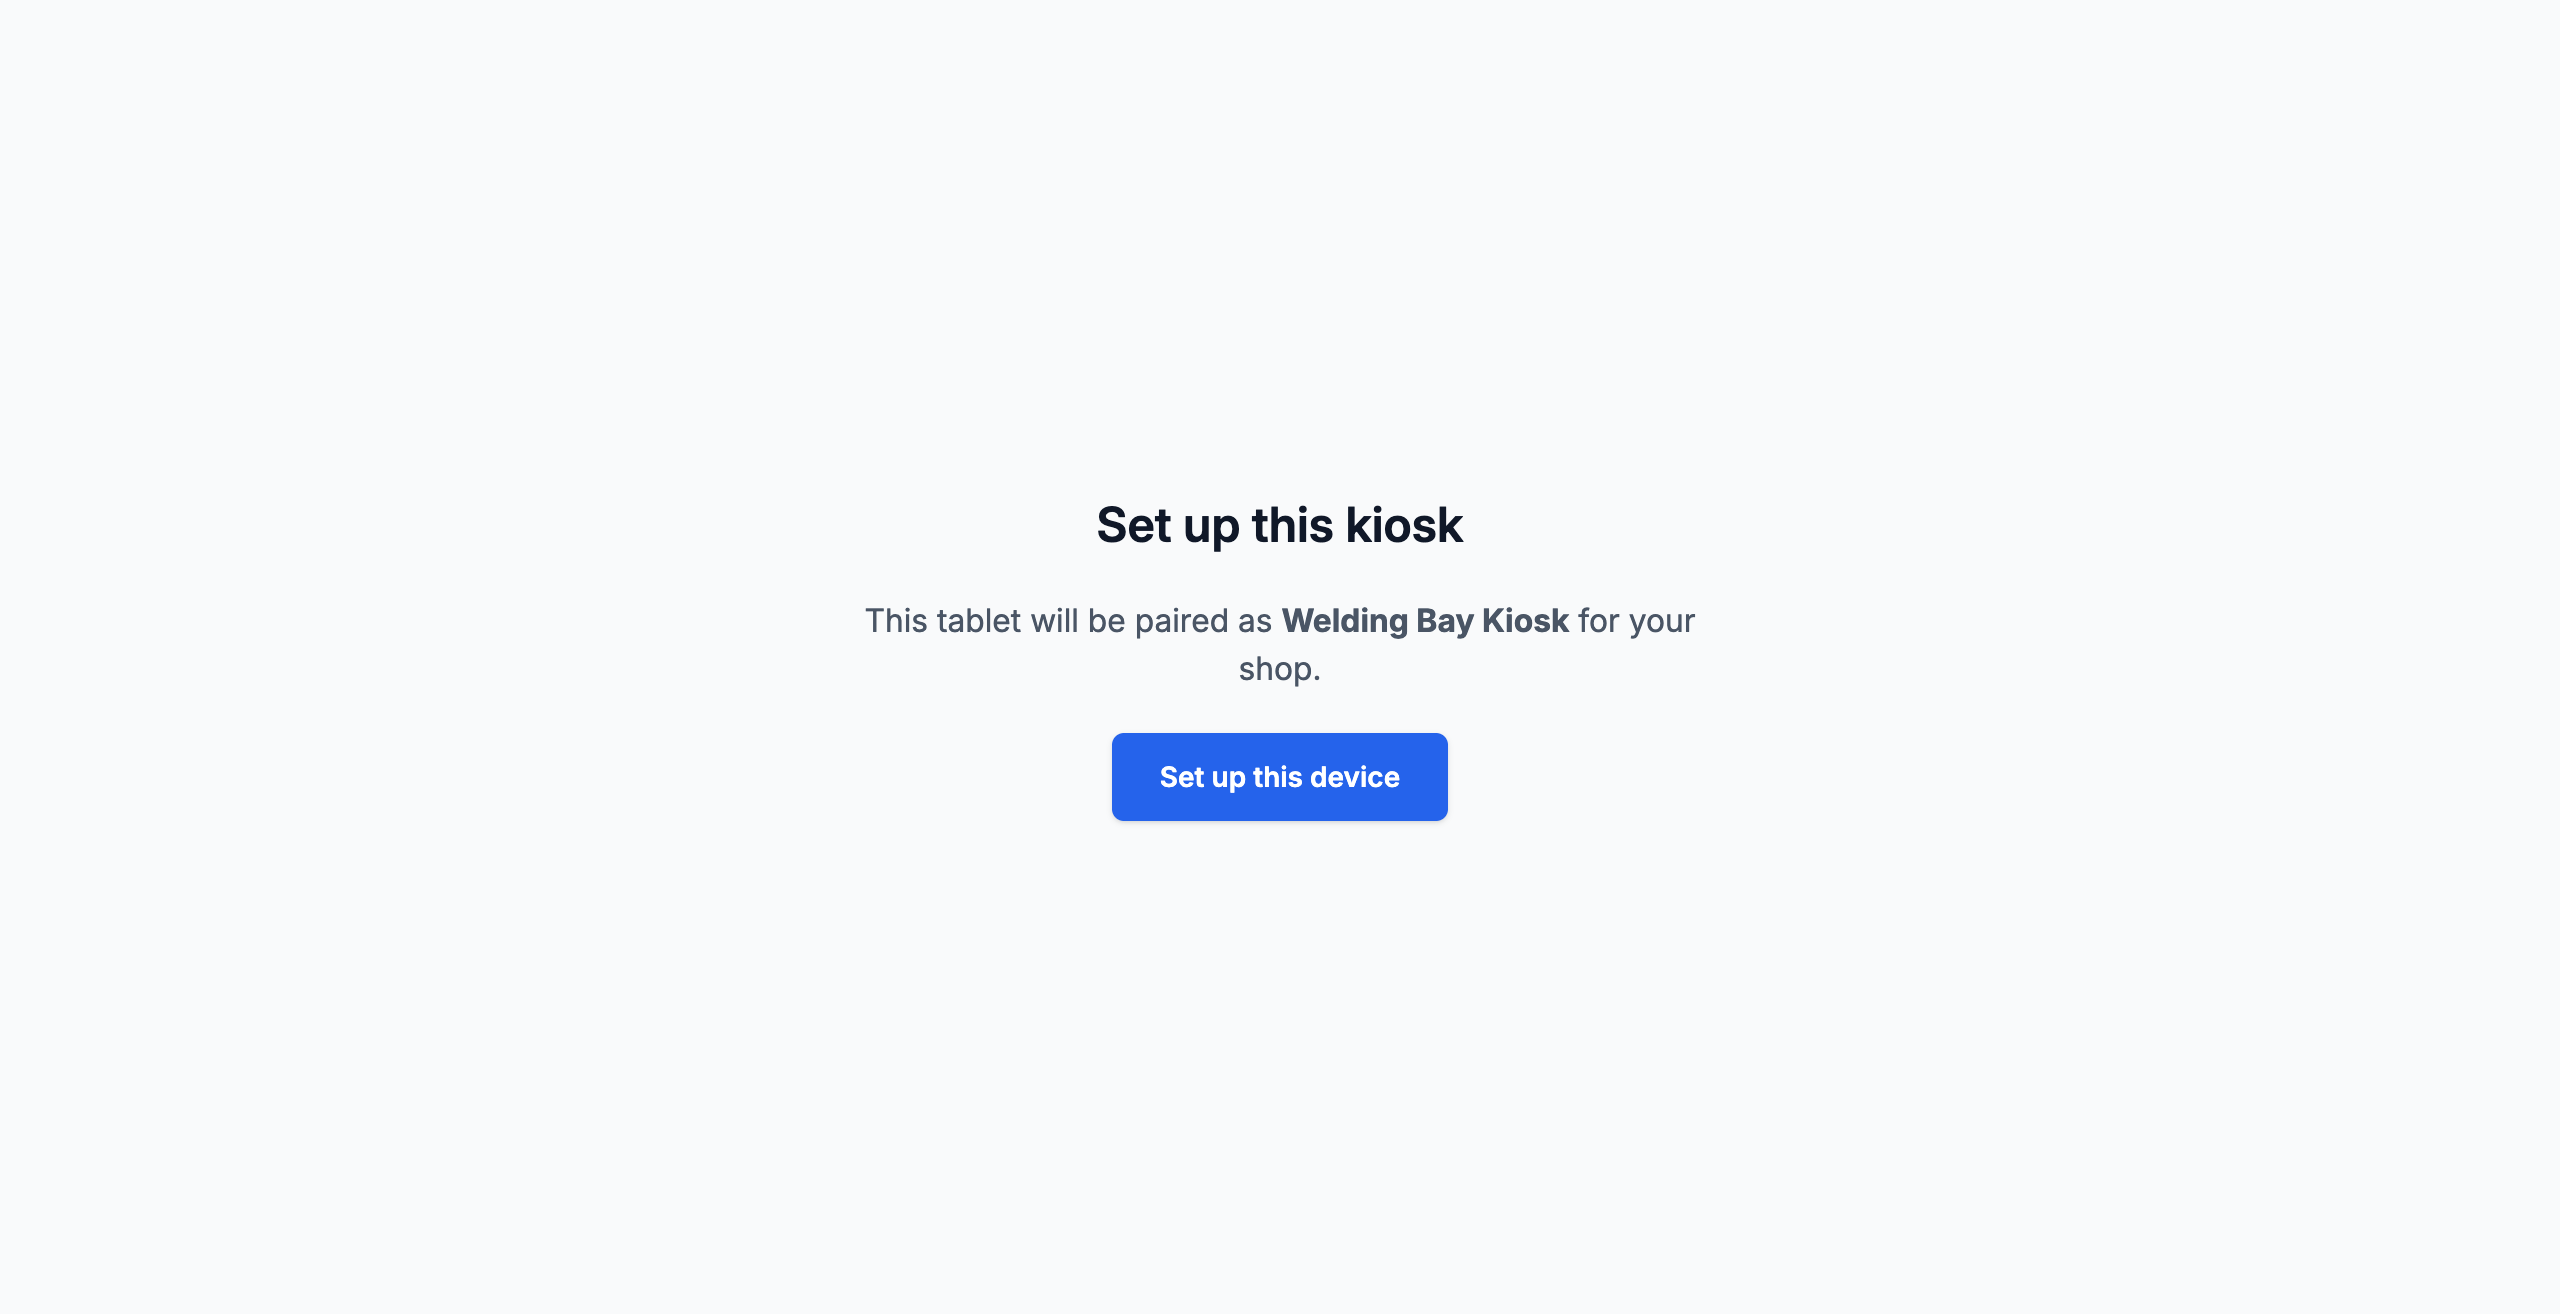
Tap Set up this device.
The iPad is now paired. It shows the worker list, ready for shift starts.
You can confirm pairing succeeded by going back to Admin → Settings → Devices on your computer — the new device should be listed under Kiosk devices with a green Connected badge.
Step 6. Lock it to the kiosk app with Guided Access
By default a worker could swipe up and back out of the kiosk into the iPadOS home screen. Guided Access is Apple's built-in kiosk mode that pins one app on the screen until you unlock it with a passcode.
Turn on Guided Access:
- Open Settings → Accessibility → Guided Access.
- Turn Guided Access on.
- Tap Passcode Settings → Set Guided Access Passcode. Choose a passcode different from the iPad's lock passcode. Only admins should know this one.
- (Optional) Turn on Time Limits → leave Sound off so the iPad doesn't beep at workers.
- Turn on Accessibility Shortcut.
Start Guided Access:
- Go to the home screen and tap the FabWise Kiosk icon to open it.
- Triple-click the top button (or Home button on older iPads).
- Tap Guided Access.
- (Optional) Tap Options in the bottom-left to disable hardware buttons, the keyboard, or motion. For a shop kiosk, leaving the defaults is fine.
- Tap Start in the top right. Enter the Guided Access passcode.
The kiosk is now locked. Workers can tap and clock in freely; backing out requires triple-clicking the top button and entering the Guided Access passcode.
To exit (for an admin doing maintenance): triple-click the top button, enter the passcode, tap End.
Step 7. Mount the iPad
Where you mount the iPad matters for daily use:
- Eye level for the shortest worker on the team. An iPad mounted too high makes tapping uncomfortable.
- Within reach of a power outlet. A short, hidden charging cable looks better and lasts longer than a long visible one.
- Out of direct sunlight. Glare makes the screen unreadable and overheats the iPad.
- Away from welding sparks, coolant spray, and grinding debris. Common sense, but worth saying.
VESA-mount wall brackets, locking enclosures, and counter stands all work. Look for one that exposes the Lightning or USB-C port for the charging cable. Pick the one that matches your shop's environment.
Step 8. Final check
Before you call it done:
- [ ] iPad is plugged in and charging
- [ ] Screen stays on after 15 minutes of inactivity
- [ ] Orientation is locked (landscape, or whatever your mount needs)
- [ ] FabWise Kiosk app launches full-screen, no Safari address bar
- [ ] Workers can enter a PIN and start a shift
- [ ] Admin → Settings → Devices shows the iPad as Connected
- [ ] Guided Access is on (if you enabled it)
- [ ] Do Not Disturb is on
- [ ] Rotation is locked
- [ ] Auto-Lock is set to Never
If any of those don't pass, go back to the step that covers it.
Troubleshooting
The screen still turns off
Check these in order:
- Auto-Lock: Settings → Display & Brightness → Auto-Lock. It should say Never. If it says any duration, change it.
- Is the iPad actually charging? A loose cable or dead outlet means the iPad falls back to battery saver, which can override Auto-Lock at low charge levels.
- Low Power Mode: Settings → Battery → Low Power Mode should be off. Low Power Mode auto-locks the iPad sooner.
- Is the kiosk in the foreground? If a worker switched to another app and walked away, the kiosk's screen-on request pauses. Auto-Lock = Never still keeps the screen on.
The kiosk got closed and now shows the iPadOS home screen
Tap the FabWise Kiosk icon on the home screen to relaunch. If this keeps happening, turn on Guided Access (Step 6).
The setup QR code says "expired" or "invalid"
Setup QR codes expire after 24 hours and can only be used once. Generate a new one in Admin → Settings → Devices → Add Kiosk Device, and scan the new code on the iPad.
The iPad shows "No internet connection"
Reconnect to Wi-Fi: Settings → Wi-Fi → select your network → re-enter the password if asked.
A worker can't start a shift, but the kiosk loads
This is a worker permission or PIN issue, not an iPad setup issue. Check the worker's profile in Admin → Users.
I need to unpair this iPad from my account
In Admin → Settings → Devices, find the iPad and tap Revoke. The iPad will return to the pairing screen on its next use and can be re-paired (or paired to a different account).
Guided Access won't end — I forgot the passcode
Hold the top button + volume down to force-restart the iPad. Guided Access will end on restart. You'll need to set a new Guided Access passcode in Settings → Accessibility → Guided Access.
Setting up several iPads at once
For fleets of iPads, Apple's Apple Business Manager + Apple Configurator lets you push a configuration profile to multiple iPads at once — including Auto-Lock, Wi-Fi, and the home-screen layout. The kiosk pairing step still has to happen on each iPad by hand, since pairing is per-account.
For most shops with one or two iPads, doing this guide by hand on each one is faster than setting up Apple Business Manager.
Where to find it
- Pairing screen on the iPad: opens automatically the first time you visit
kiosk.fabwise.app - Add Kiosk Device button: Admin → Settings → Devices
- Who can pair a device: account admins only
- Maximum kiosk devices per account: 5